Language management
The application supports at the moment various languages. Each language is located in its own directory. For one language it is required at least 2 files: one icon that will be shown in the interface and the translations of the texts. You can modify the translation as you need. You just have to pay attention to preserve the value located in front of equal(“=”) sign. This value represents the id and it should not be changed.
Note
After reinstallation of the component all modifications made to the language files will be lost. In order to preserve your changes, you have to modify the component archive or backup your existing language files. If you have added the modification on the custom area you will need to save the language again in order for the custom text to be reapplied.
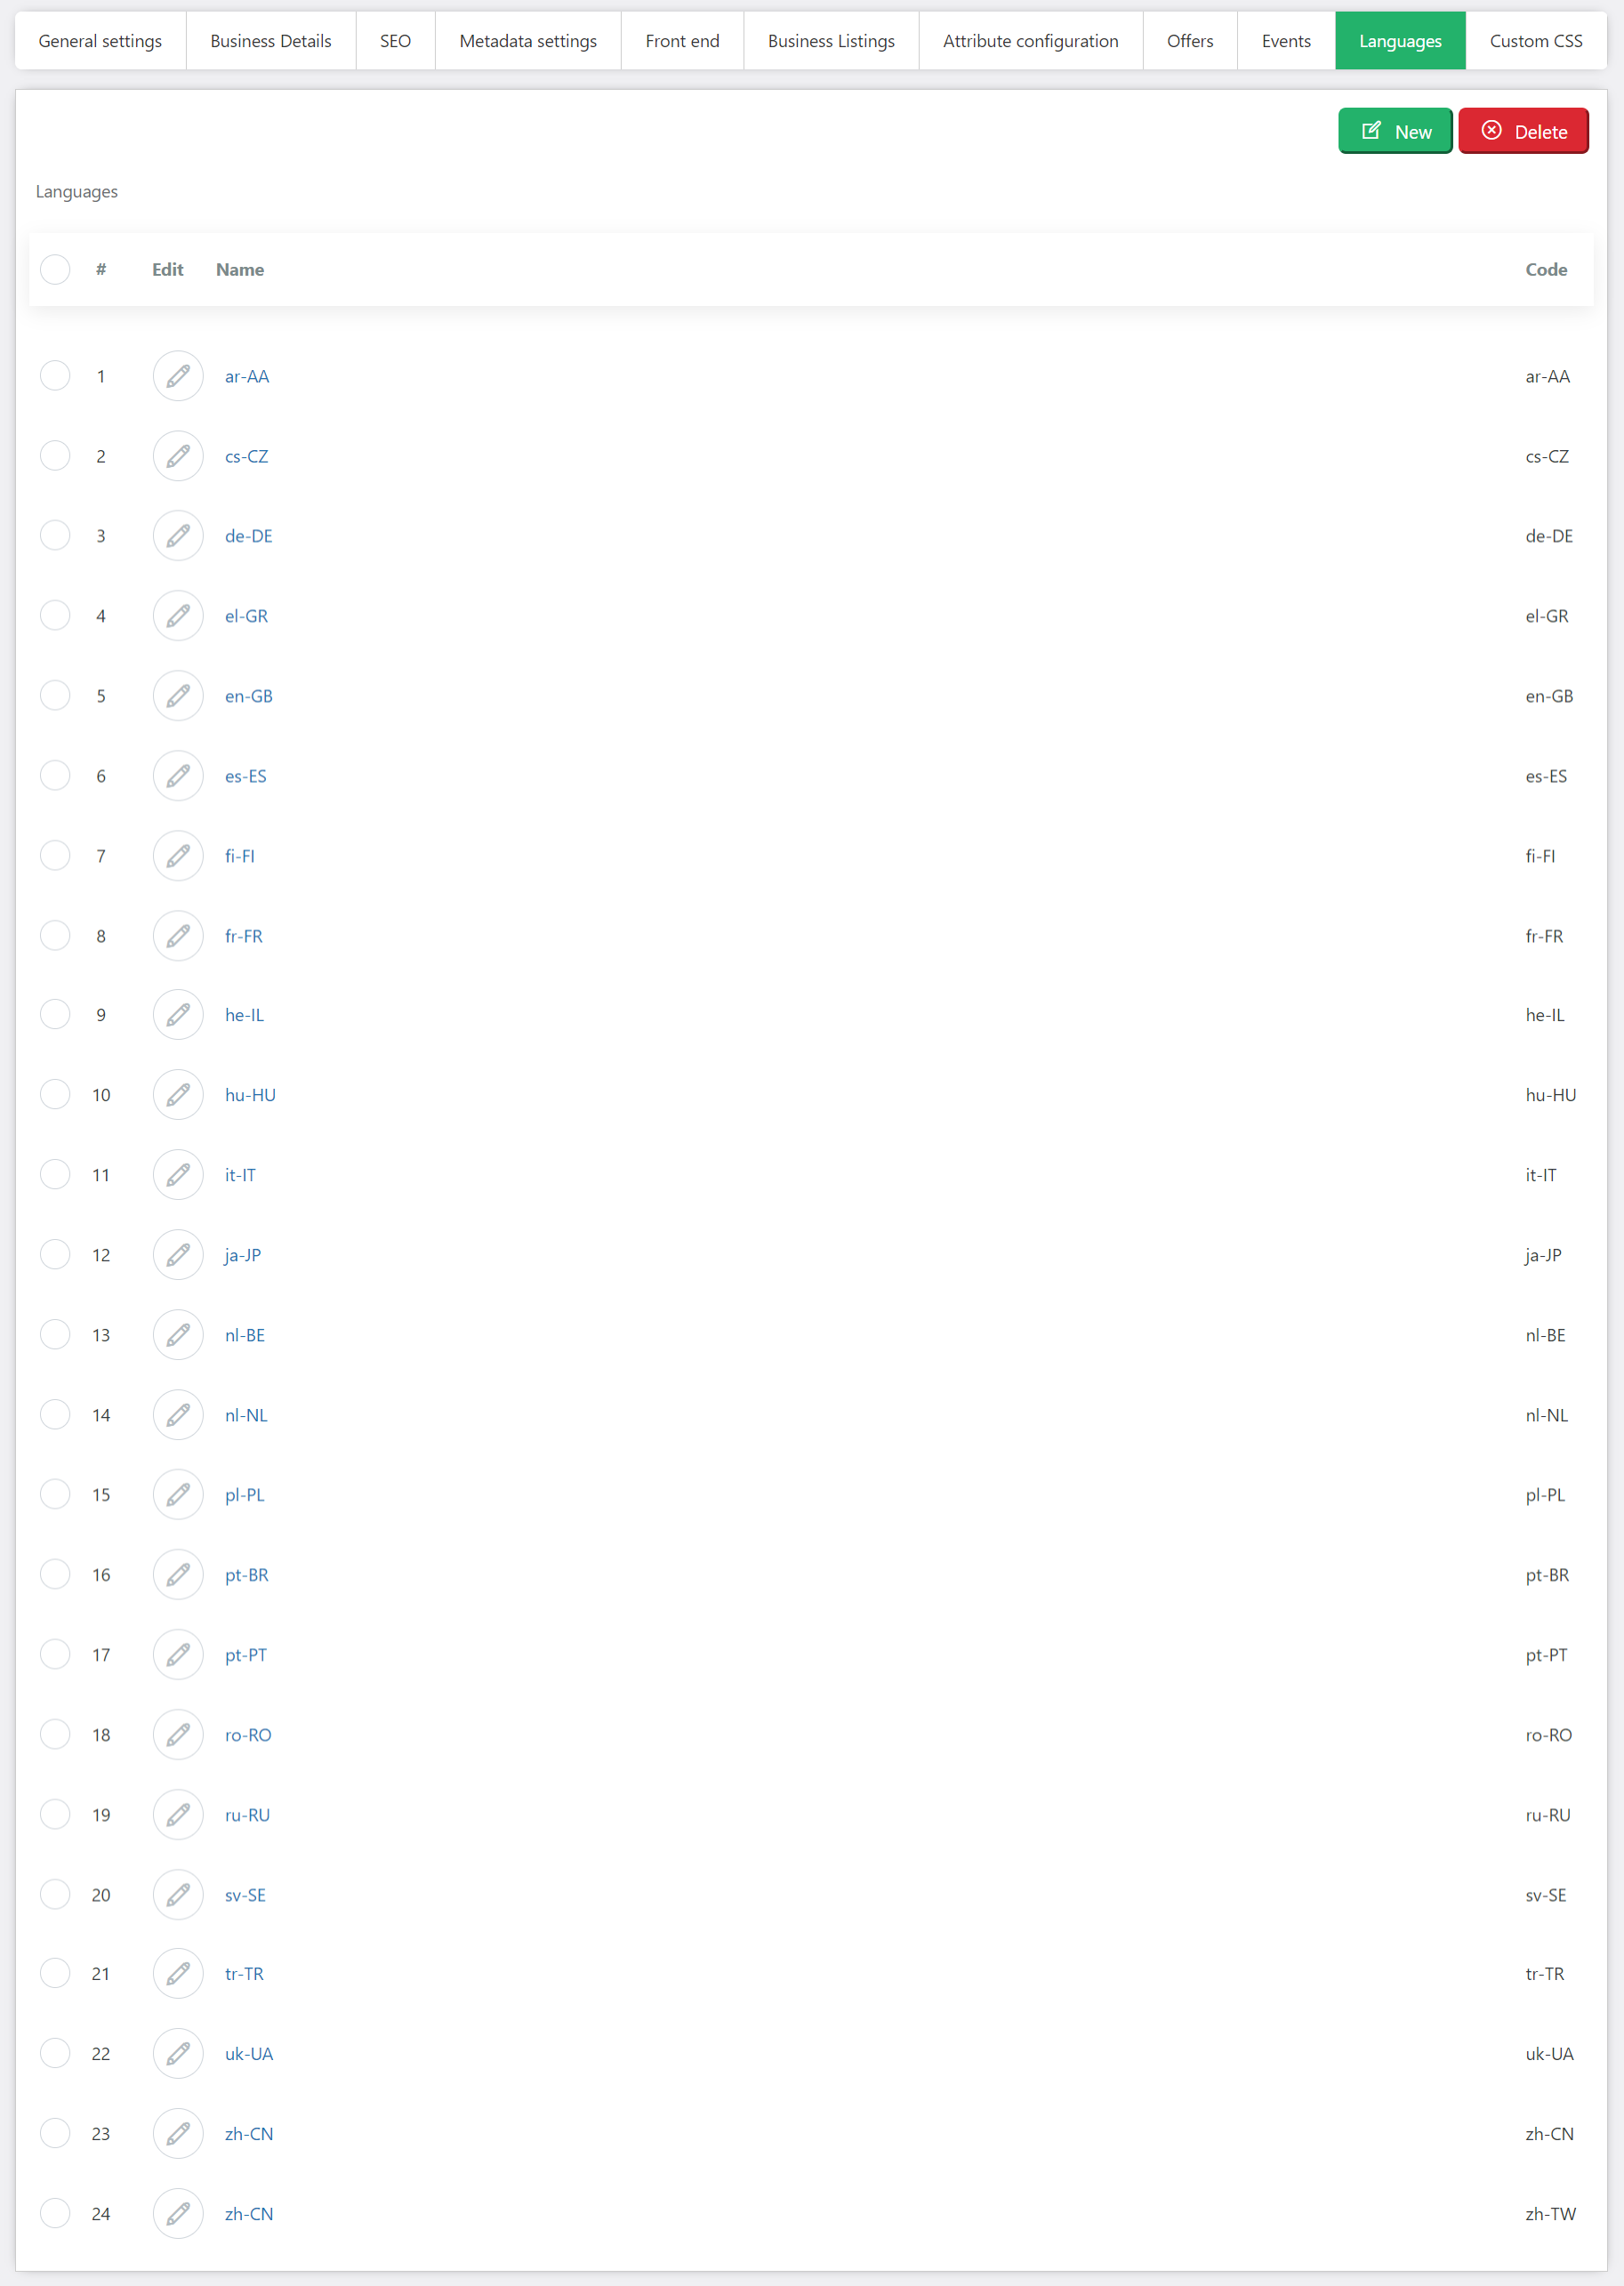
Adding a new language
To add a new language there are two options.
Through the admin interface by clicking new language
Manually by using a text editor. You have to create a new directory named after the language code and the code of the country. (Ex: en-GB, de-DE, it-IT, fr-FR) The component will automatically detect the new language. No other settings are required.
Important
For the languages that contain diacritics the encoding of language files needs to be set to UTF8 without BOOM.
Changing the language texts
The easiest way to change a text on the language file is by editing the language on language manager on directory general settings.
You have to click on the language you want to edit and the following screen will appear.
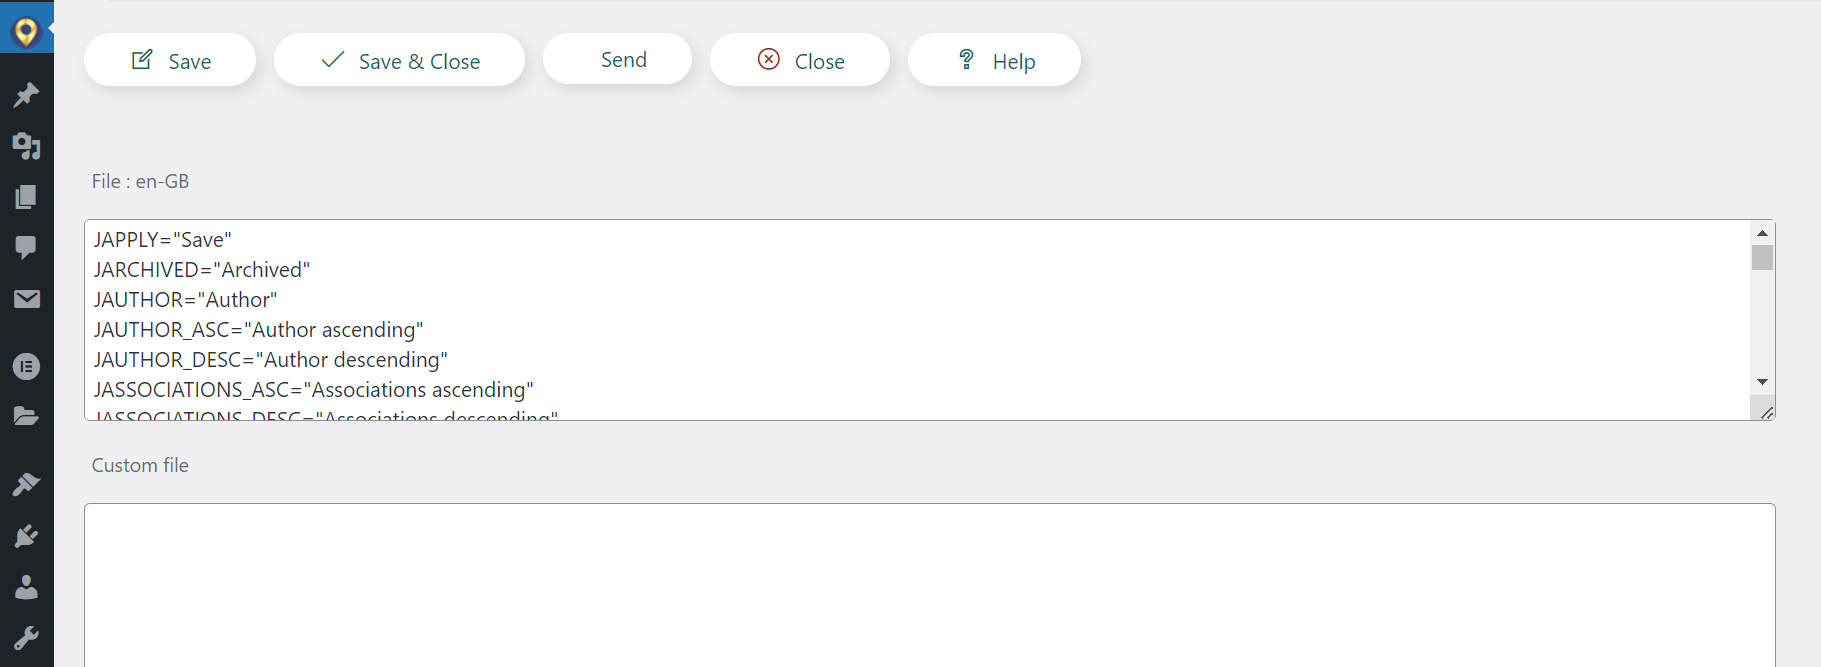
When editing a text we recommend to add your translations on custom file area to prevent the loss of changes when a new version is installed. When a new version is installed the language files are overwritten and the original files changes are lost. After an update it is required to open the language file again and save it so that the custom changes will be applied again on the language file.
E.g Changing the “Location or zip code” text on the search module. The first step will be to locate the text identifier and it’s value. In our case the text can be found on LNG_SEARCH_ZIPCODE=”Location or postal code”
WP-BusinessDirectory View Overrides
Tailoring Layouts with Confidence
Introduction
In the dynamic realm of WordPress, plugins like WP-BusinessDirectory empower businesses to showcase their offerings online. However, achieving a unique and tailored look often requires more than just the default settings. This is where the power of view overrides comes into play. In this section, we’ll dive into the world of WP-BusinessDirectory view overrides, exploring how they enable developers to reshape page layouts while safeguarding these changes against updates.
Understanding View Overrides
View overrides in WP-BusinessDirectory provide developers with a powerful tool for crafting custom page layouts. Rather than being constrained by the default templates, developers can leverage view overrides to introduce alterations and enhancements that reflect their creative direction.
The Importance of Preservation
One significant challenge developers often face is the need to update their plugins. With each new version, plugins receive valuable improvements and security updates. However, these updates could potentially overwrite any customizations made to the default templates, leading to a frustrating cycle of re-implementing changes after every update.
This is precisely where view overrides shine. By creating an override, developers ensure that their meticulously crafted layouts and design modifications remain intact even after performing software updates. This invaluable advantage not only saves time and effort but also guarantees a consistent and polished user experience.
Harnessing the Power: How to Create View Overrides
Example 1: Overriding the Categories View
Locate the “CATEGORIES view” within WP-BusinessDirectory.
Create an override folder: wp-content/uploads/wp-businessdirectory/overrides/categories.
Copy the original content: Duplicate , /wp-content/plugins/wp-businessdirectory/site/views/categories/tmpl. to the override folder.
Tailor the content: Edit the default.php file to incorporate desired changes.
Example 2: Overriding the Search View
Identify the “SEARCH view” within WP-BusinessDirectory.
Establish the override folder: wp-content/uploads/wp-businessdirectory/overrides/search.
Replicate the original content: Clone: “/wp-content/plugins/wp-businessdirectory/site/views/search/tmpl.” to the override folder.
Incorporate required layouts: Copy the search layout from: /wp-content/plugins/wp-businessdirectory/site/includes. to the override folder.
Adapt include paths: In the default.php file, modify the PHP code to reference the overridden layout paths.
Maximizing the Benefits
While view overrides offer unparalleled flexibility, developers should bear a few additional tips in mind:
Consistency in Naming: Ensure that the override folder and file names match the original views to avoid errors.
Backup Your Work: Before any major customization, back up your website to prevent any unintended data loss.
Stay Updated: Regularly check for updates to the plugin and consider consulting the plugin’s documentation for any new features or changes.
Conclusion
In the world of WordPress, WP-BusinessDirectory view overrides empower developers with the freedom to innovate and design without fear of losing their hard work during updates. These overrides unlock a world of customization possibilities, allowing businesses to tailor their online presence to their unique brand identity. By mastering the art of view overrides, developers can confidently navigate the realm of plugin updates while maintaining their handcrafted designs and layouts.
WP-BusinessDirectory Shortcodes
Introduction
In the dynamic landscape of WordPress, WP-BusinessDirectory takes center stage by enabling businesses to showcase their offerings in an organized and professional manner. This plugin not only streamlines the management of business listings but also offers a powerful feature: shortcodes. In this article, we’ll delve into the world of WP-BusinessDirectory shortcodes, exploring how they empower you to seamlessly integrate widgets into your posts and pages for enhanced functionality and customization.
Harnessing the Power of Shortcodes
At the heart of WP-BusinessDirectory’s flexibility lies the ability to seamlessly integrate its widgets into your WordPress content. Shortcodes serve as your gateway to unlocking this potential. By utilizing a simple and intuitive syntax, you can effortlessly include widgets within your posts and pages, enriching your content with dynamic elements.
Implementing Shortcodes: A Quick Guide
To embed WP-BusinessDirectory widgets using shortcodes, follow these steps:
Widget Selection: Begin by choosing the widget you want to include. Widgets can vary from business listings to featured categories, each offering unique features and functionality.
- Shortcode Syntax: Utilize the following syntax to embed your chosen widget:
[wpbd_widget widget_name=”Widget_Name_Goes_Here”]
Replace “Widget_Name_Goes_Here” with the actual name of the widget you wish to display.
- E.g. To include the listings widget (WP_BusinessDirectory_Listings_Widget) please use the following syntex:
[wpbd_widget widget_name=”WP_BusinessDirectory_Listings_Widget”]
Enhancing Widget Functionality: Shortcodes offer more than just basic widget inclusion. You can enhance the functionality of the widgets by incorporating settings directly into the shortcode. This allows you to customize widget behavior according to your preferences.
Fine-Tuning Settings: Refer to the default.xml file associated with each widget to explore available settings. Familiarize yourself with the options to tailor the widget’s appearance and behavior.
5. Modifying Shortcodes: To add specific settings to your shortcodes, employ the following format: [wpbd_widget widget_name=”Widget_Name_Goes_Here” setting1=”value1” setting2=”value2”] Customize “setting1”, “setting2”, and their corresponding values based on the available options for your chosen widget.
Optimizing Widget Integration
While shortcodes offer a powerful means of integrating WP-BusinessDirectory widgets, consider these tips for an optimal experience:
Comprehensive Widget Exploration: Familiarize yourself with the range of available widgets. Explore how each widget can enhance your content and cater to your specific needs.
Thorough Settings Examination: Delve into the default.xml files of your chosen widgets to understand available settings. This exploration equips you to customize widgets to perfection.
Experimentation and Feedback: Use shortcodes as a dynamic tool for experimentation. Adjust settings and observe how they impact widget behavior. Encourage user feedback to fine-tune your widget usage over time.
Conclusion
WP-BusinessDirectory shortcodes are your gateway to seamlessly infuse dynamic widgets into your WordPress posts and pages. These tools empower you to enhance your website’s functionality and customization without the need for complex coding. By following this guide, you can harness the potential of WP-BusinessDirectory widgets and create an engaging, user-centric online experience.